Wednesday, April 2, 2014

March Madness!!

Painting with legos I set out three legos that were all different sizes. Using the colors blue, yellow and green I let him explore the different shapes the legos would print. When I told him we were going to paint with legos he was so excited because to him that it not what lego are for. It was a really fun painting activity. I also gave him a large piece of poster board to paint on to make it an extreme painting activity. The legos made such a cool print on both sides it was really a cool art project. We were able to discuss into detail words like "medium, large, bigger, middle.."


We also painted with balloons. I filled one ballon with air and one balloon with sand (which without a funnel was kind of a pain in the butt) Then using blue and yellow paint again I let him paint with the balloons. I again used larger than normal paper to really give the room he needed to paint. 


 SLIME! how much fun is slime! for my slime I use borax and school glue. I made two separate slimes in the colors of yellow and blue again so he could mix them into a pretty green color. I allow him to use plastic scissors on the slime to help enhance his fine motor skills which can help him become a better writer later on. We also used strawberry baskets to show how the slime moves when it is at rest. We did not have that much patience though as the slime was very slow but it was cool to see.


 St. Patricks Day collage! We go to our local libraries story time and they of course talked about St. Patricks day so I knew we had to do something for it. I cut out little gold "coins" from gold scrapbook paper. Before we even glued them on the little dude wanted to count out how many gold coins we had. I also cut out little paper squares of the rainbow colors and posted a picture of a rainbow hoping he would put the colors in order by himself. I also had different shades of green shamrocks for him to glue as well.


 Coffee filter art! Using eyedroppers I used yellow water color and blue water color to cover the coffee filter with. These always turn out so cool and I love using them as sun catchers on the window because the light really shines through and makes them look really pretty. It is also such a fun activity watching the colors spread and seeing how fast they mix together.


 We also after we did the green ones decided to make rainbow ones as well so we added the color red to watch it mix with the  blue and yellow.

Monday, February 10, 2014

Beginning of February

FEBRUARY the time of year to talk about love and show everyone who you love! 


We have started february with some crafts and art projects showcasing hearts of course
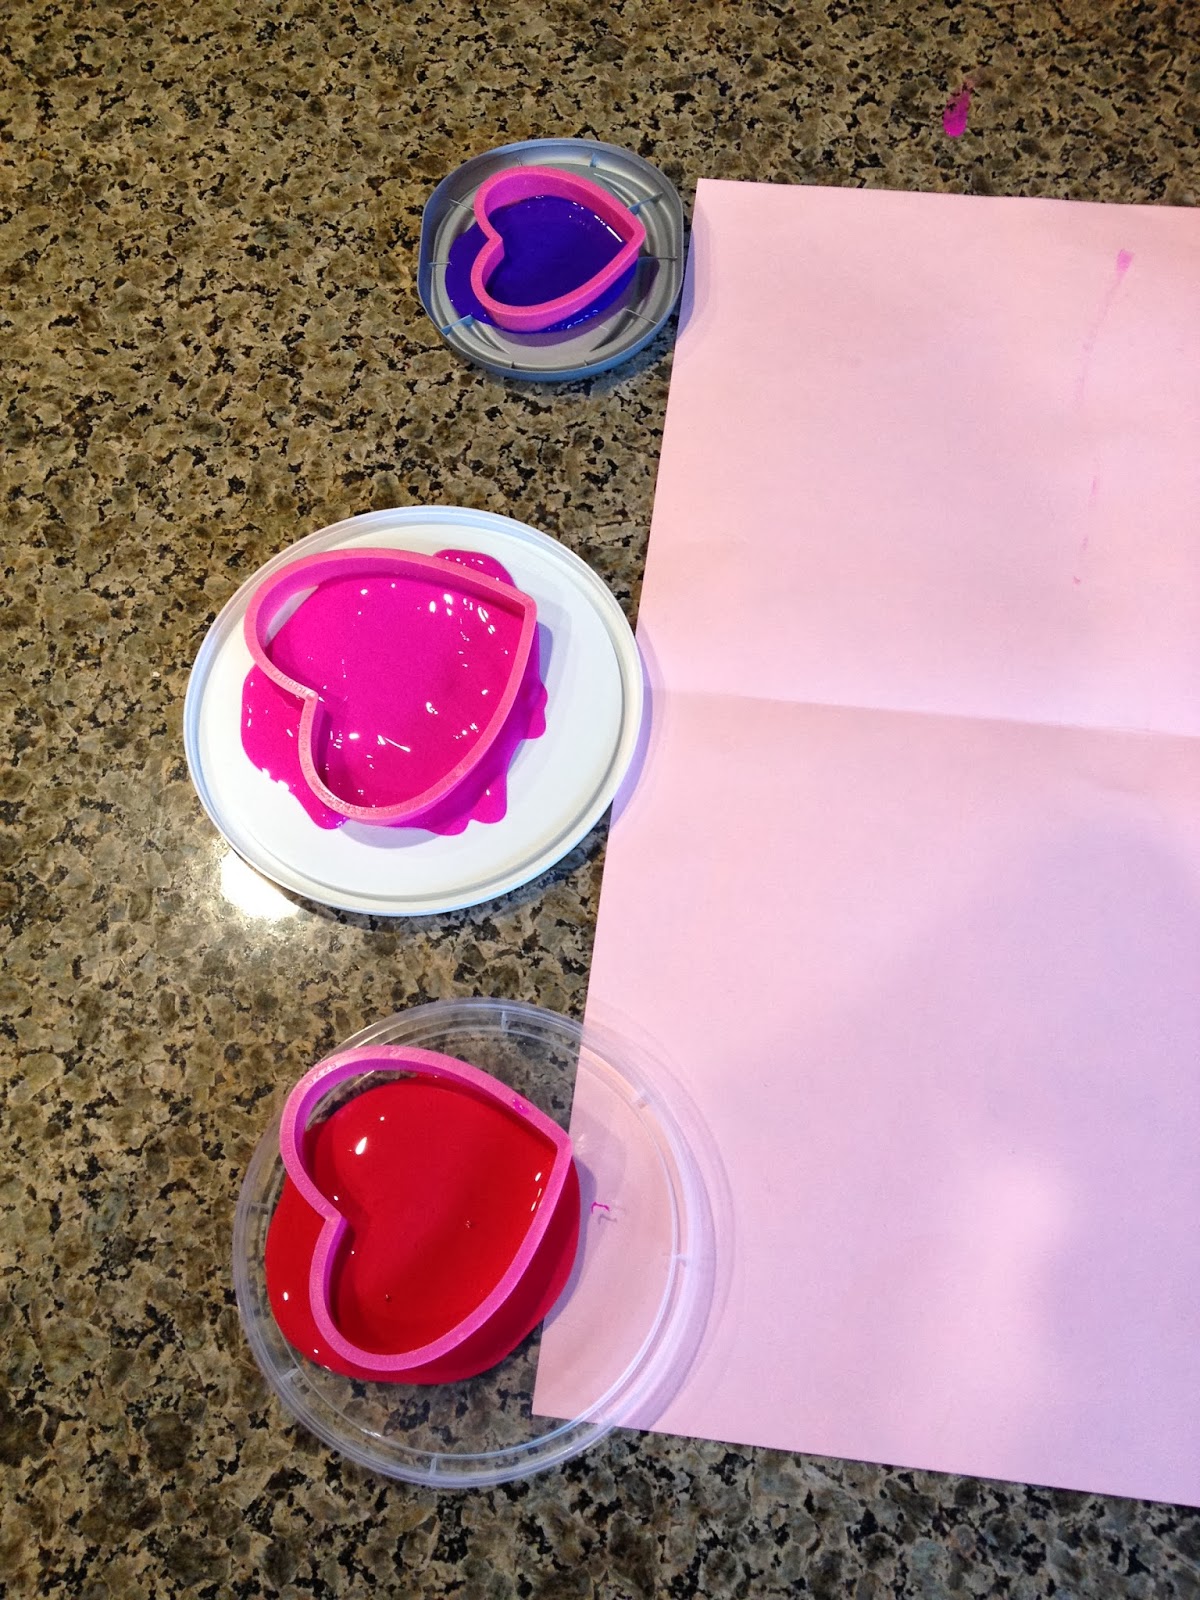
We are going to be counting to twenty in a number match on our "Love Bugs" starting with lady bugs 1-5. We are also going to be doing butterflies, caterpillars and snails the same way. While this is a closed ended project I just make sure we even it out with other open ended projects like our valentine making and painting with heart cookie cutters.

Here we organized different shape hearts onto one giant heart. We talked about the different sizes and different words for each size. Big can be giant, huge, large! while small can be tiny, teeny, itsy and so on! a great way to learn new vocabulary and get a better feel for the size of things.


 Here is the beginning of our counting love bugs. Starting with one giant lady bug with heart spots we then matched the numbers 1-5 to smaller lady bugs. We will be doing to rest of our love bugs soon. While this is very closed ended I knew we had to practice our one to one correspondence. Crafts like this are only things I would really do with one or two children just because it was a lot of set up and would definitely have to be adapted to use in a classroom.


To balance out between the closed ended projects I do open ended projects which means there is no certain outcome to expect. Open ended projects are really to help the child become proud of their work, build self esteem and experiment. They also help teachers who specialize in development learn about the children and see if they are in the right stage of development. We made valentines to send out to our families and friends which I forgot to take pictures of before they were mailed off but we also have done some free painting and cookie cutter painting!


Wednesday, January 22, 2014

Winter Crafts

From getting busy during the holidays we have done so many Christmas and Winter crafts which can be QUITE tricky coming from California where it is still 80 degrees even though it is "winter". Luckily for me the little dude comes from where it snows and knows what he is talking about when I say we are going to do a winter craft. UNLUCKY for me is trying to explain that it is actually winter here even though we aren't seeing any snow!!!

Shaving Cream and glue snowman


Foot Reindeer he named himself

Mitten Match. I should have made this more difficult because he realized the colors matched up as well as the dots and the numbers but it did help him practice his 10-20 numbers which he has problems remembering. Also made very pretty winter decorations. 


Christmas tree collage by length
Ginger bread family. 


Cotton ball snowman. 

Corn Syrup and paint wreath made out of toilet paper rolls and Paper Plate. 

Salt Name and Cloud Letter Match

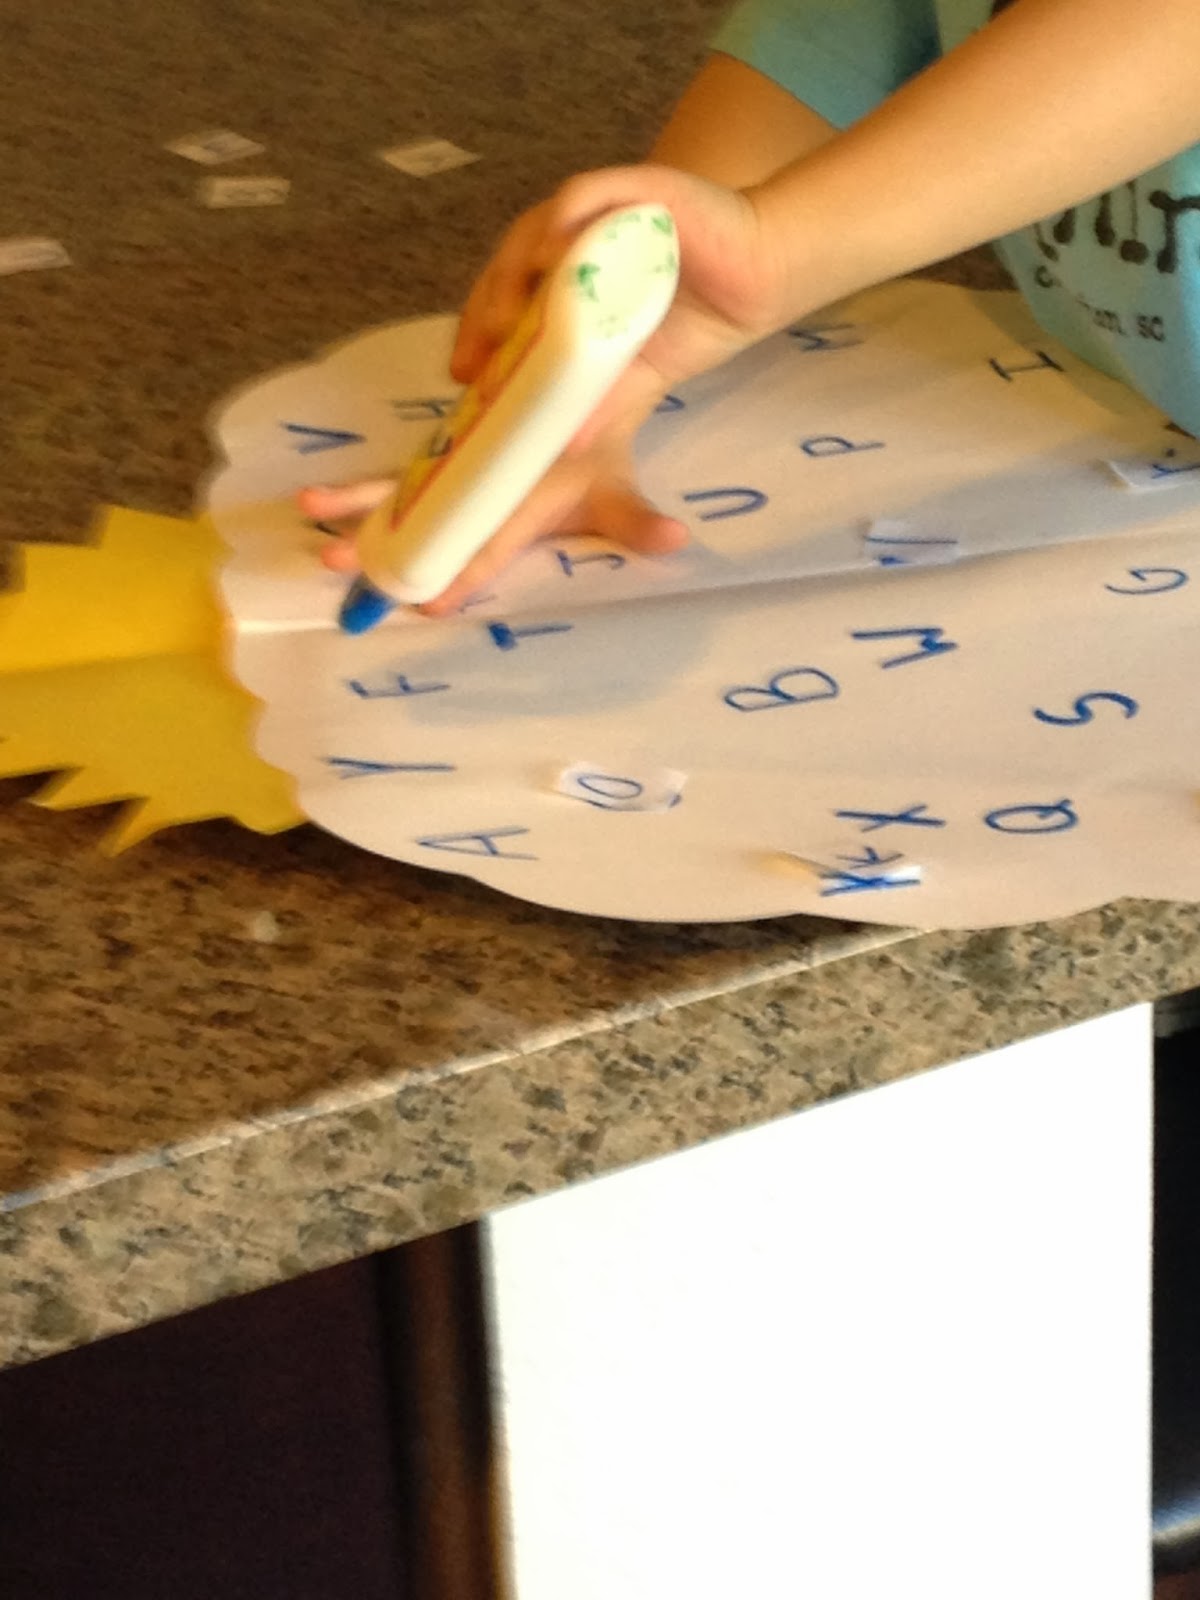
We have started talking more about the difference between lower case and uppercase letters. We have been doing crafts to help remember them. We started with being able to recognize the letters in the little dudes name as both upper case and lower case letters. I glued salt to his name so that he could eye drop color on to it. It was so fun watching the liquid move through out the salt and we liked to watch it race with other parts of his name. I also made a giant cloud and wrote all the uppercase letters on it in a mixed up order. Now he is in charge of gluing all of the lower case letters on top of the correct upper case letter. I don't make him do the whole project in one day because I want him to soak it the information more and not overwhelm him. Next we need to start working on reading and writing numbers!


Really cool to watch the liquids mix together and see how fast the liquid would race down the salt. 


My big pathetic cloud! But he did enjoy doing this and I think he even thought it was quite easy. He only had a couple of issues with a couple of letters which was neat. 

Triangle Fox

For January we have been making things out of shapes. We have done a Train Name, Triangle Fox, Circle Walrus and Rectangle Igloo. It was really fun for me to think of how to make things out of different shapes but I loved it even more seeing what the little dude was able to do when I gave him the materials. He definitely made them cuter then I had even thought of.


He put his name in order and glued on the rail road track. He then added on all the wheels. 


He was given all the different shaped triangles. I laid them out how the fox was supposed to look and then mixed them up. With some guidance I helped him figure out what went where but where he glued them after that was completely up to him. I AM IN LOVE with how cute this fox turned out. With its little head tilted I think it is so cute. 

Tuesday, December 17, 2013

Pinterest inspired.


Thanks for Pinterest for being such an awesome place to find cool crafts to do! Here are some I found and did recently!

Paper Mache Hot Air Balloons

The recipe I used was very simple. There were a lot of recipes out there some with hot water, some without. I personally think when you use hot water for things like this and like play dough it works better so thats what I did. It obviously was a huge mess but I knew that getting into it. We did some bowls as well but I really think our hot air balloons turned out the best! I put everyone in the cleaned out sensory tub and showed the little dude how to do it. I sprayed the balloons with cooking spray but really you are supposed to do vaseline I just didn't have any. I had also taped half a roll of a toilet paper roll to the bottom of the balloon to give it more of the hot air balloon shape.  I then started mine and watched the little dude do his. I finished mine, and helped his while he started just wanting to squish up all the paper shreds in the paper mache paste. Oh well. Can't win them all and he did do a lot of the work! For the basket I hot glued felt to a strawberry basket! We then painted out hot air balloons and after they were dry we hung them up in the play room!


Papier-mâché

-2 cups boiling water
-2 cups cold water
-1/2 cup flour

Mix flour and cold water. Then pour into boiling water and take off the heat. Mix all together and then pour in a bowl for it to cool down. It will thicken up as it cools down so don't worry about it if it is watery. I thought at first it looked like two much but we used just about all of it!! Although I also had a 3 year old who just wanted to stick his hands in it and get the paper all wet and mushy to play with so that may have been why as well. 


We have also made cinnamon and applesauce ornaments which I will thank to Pinterest for showing me how its done but I know for a fact it has been around for years and years. While I wanted to make ornaments out of cookie cutters the little dude just wanted to play with it so I let him do some of that before we started making the real shapes we would end up baking. 

Cinnamon/Apple Sauce Ornaments
1 cup of applesauce
1 1/2 cups cinnamon

Mix together until it starts to form a dough. No heat. If it seems too wet add more cinnamon, if it seems to dry then add more applesauce. This is also a dough you will most likely just need to mix with your hands. I LOVE the smell of cinnamon and I had to even  stand as far back as I could while mixing because the smell was so strong at first. When it has reached a dough I broke it off into pieces and started to knead it. If it was still too sticky to roll out I just put a little cinnamon in a bowl and rolled the dough into a ball and then coated the ball in the cinnamon. 

Playing with the dough
Cinnamon to dunk the dough in


I then rolled it out and started cutting out shapes. We did letters, dinosaurs and hearts. Pretty much anything we wanted. You are then going to need to bake it at 200degrees. I did about 2 hours and then left it in the turned off oven over night. You want them to be hard like a rock. You also do not want them so thin because the thinner they are the easier it is for them to break. Since I was doing this with a three year old so did turn out pretty thin but we will just have to be careful with those. I also used a pen to poke a hole through the ornaments before cooking them so we can use their as gift tags or put them on our tree. I kinda want to stick some in my car to have my car smell like delicious cinnamon!